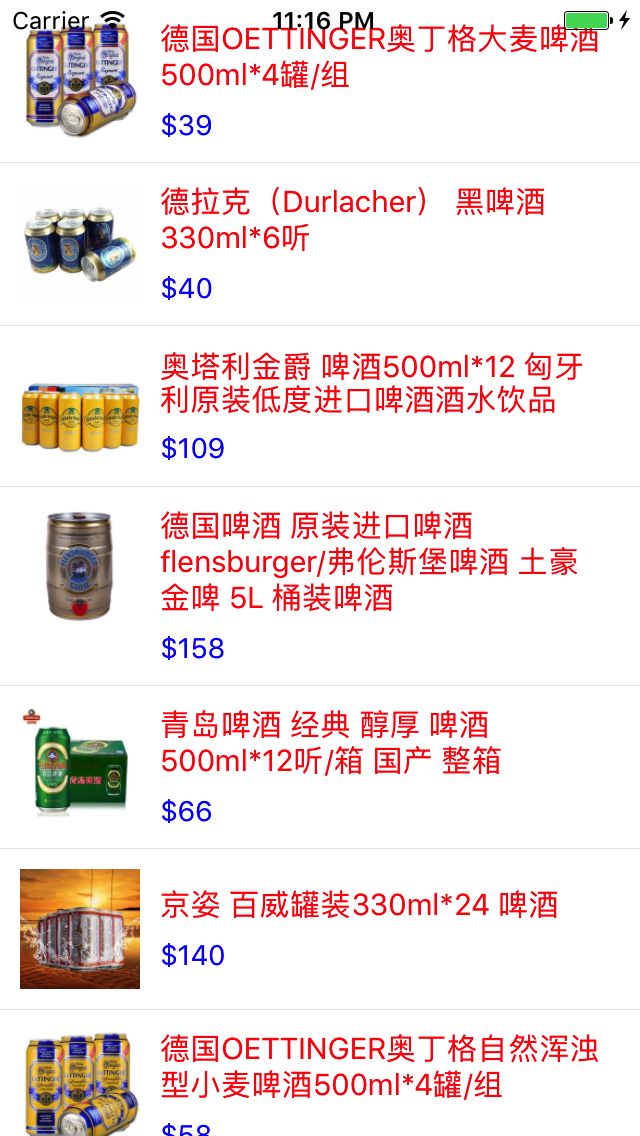
之前我们介绍了ListView的基础,这次来简单应用一下,做一个listView的列表,直接看代码
import React, { Component } from 'react';
import {
AppRegistry,
StyleSheet,
Text,
View,
Image,
ListView,
TouchableOpacity,
AlertIOS
} from 'react-native';
//导入json数据
var wine = require('./Wine.json');
var Dimensions = require('Dimensions');
var {width} = Dimensions.get('window');
var listView = React.createClass({//类名一定要大写开头
//不可改变的值
getDefaultProps(){//设置默认属性
return{
}
},
propTypes:{
},//属性校验器,表示必须是字符串
//可改变的值,设置初始值
getInitialState(){
//设置数据源
var ds = new ListView.DataSource({rowHasChanged: (r1,r2)=> r1 !== r2});
//设置返回数据
return{
dataSource: ds.cloneWithRows(wine)
}
},
componentWillMount(){
},
//渲染视图
render() {
return (
);
},
//一般在此方法中请求数据或实现复杂操作
componentDidMount(){
},
//返回具体的cell
renderRow(rowData,sectionID,rowID,highlightRow){
return(
//点击
{AlertIOS.alert('点击了' + rowID + '行')}}>
{/*cell*/}
{/*左边的图片*/}
{/*上边的Text*/}
{rowData.name}
{/*下边的Text*/}
{'$' + rowData.money}
)
}
})
const styles = StyleSheet.create({
cellViewStyle:{
padding: 10,
backgroundColor: 'white',
//下划线
borderBottomWidth: 0.5,
borderBottomColor: '#e8e8e8',
//确定主轴方向
flexDirection: 'row',
},
leftImageStyle:{
width:60,
height:60,
marginRight: 10,
},
rightViewStyle:{
//主轴的对齐方式
justifyContent: 'center',
},
topTitleStyle:{
color: 'red',
fontSize: 15,
width: width * 0.7,
marginBottom: 8,
},
bottomTitleStyle:{
color: 'blue',
}
});
//输出类
module.exports = listView;
最后来看一下实现的效果